For homeowners, commercial building managers and even for electrical service providers, having the option to provide either a repair or a replacement for a fluorescent light is important. When it comes to lights failing, replacement sockets may be the answer to the problem, helping to save you the money of a full light replacement.
For the most part, fluorescent lights and fixtures tend to be very long lasting. Just like any light and fixture parts, either the lightbulb or part of the fixture, can eventually simply wear out. When it does, troubleshooting the problem and choosing the right parts, including replacement sockets can make a big problem a very easy repair.
Is it the Light?
Start with the most obvious and easiest to check issue first. If the light is flickering or if the tube is gray or black in color it is most lightly the light that is the issue. You should also hear a slight hum and a clicking noise if you rotate the light in the socket.
Cleaning the Socket
Before buying replacement sockets, you may want to check to make sure the contacts on the light are not simply dirty. They can be cleaned with isopropyl alcohol on a piece of lint free cloth.
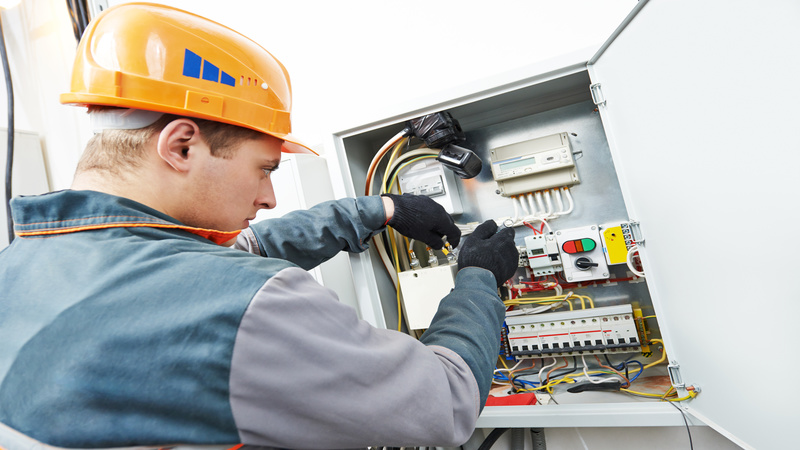
If this is not the issue, remove the cover from the fixture. There are typically two small screws holding it place and once it is removed, you can see the socket. Before doing this turn off the breaker and the light switch, and check to make sure there is no current to the light fixture.
Clean the existing socket with the isopropyl alcohol, and note any signs of burnt or discolored areas. Also carefully check the wires from the socket. Any sign of problems here typically means you will need replacement sockets.
By comparing the information about the light fixture, which will be printed on the unit, you can choose the right replacement sockets. It is then just a matter or removing the current defective socket and replacing it with the new replacement sockets.
Make sure during this process there is no electricity to the fixture. Once the replacement sockets are in place, replace the cover and the bulbs, and then try the light. You will typically find you can continue to use the same bulbs unless they were determined to be defective in the first check of the system.